Designing the U-1: A Joystick Topper, Prototype by Prototype
June 22, 2026 | Projects
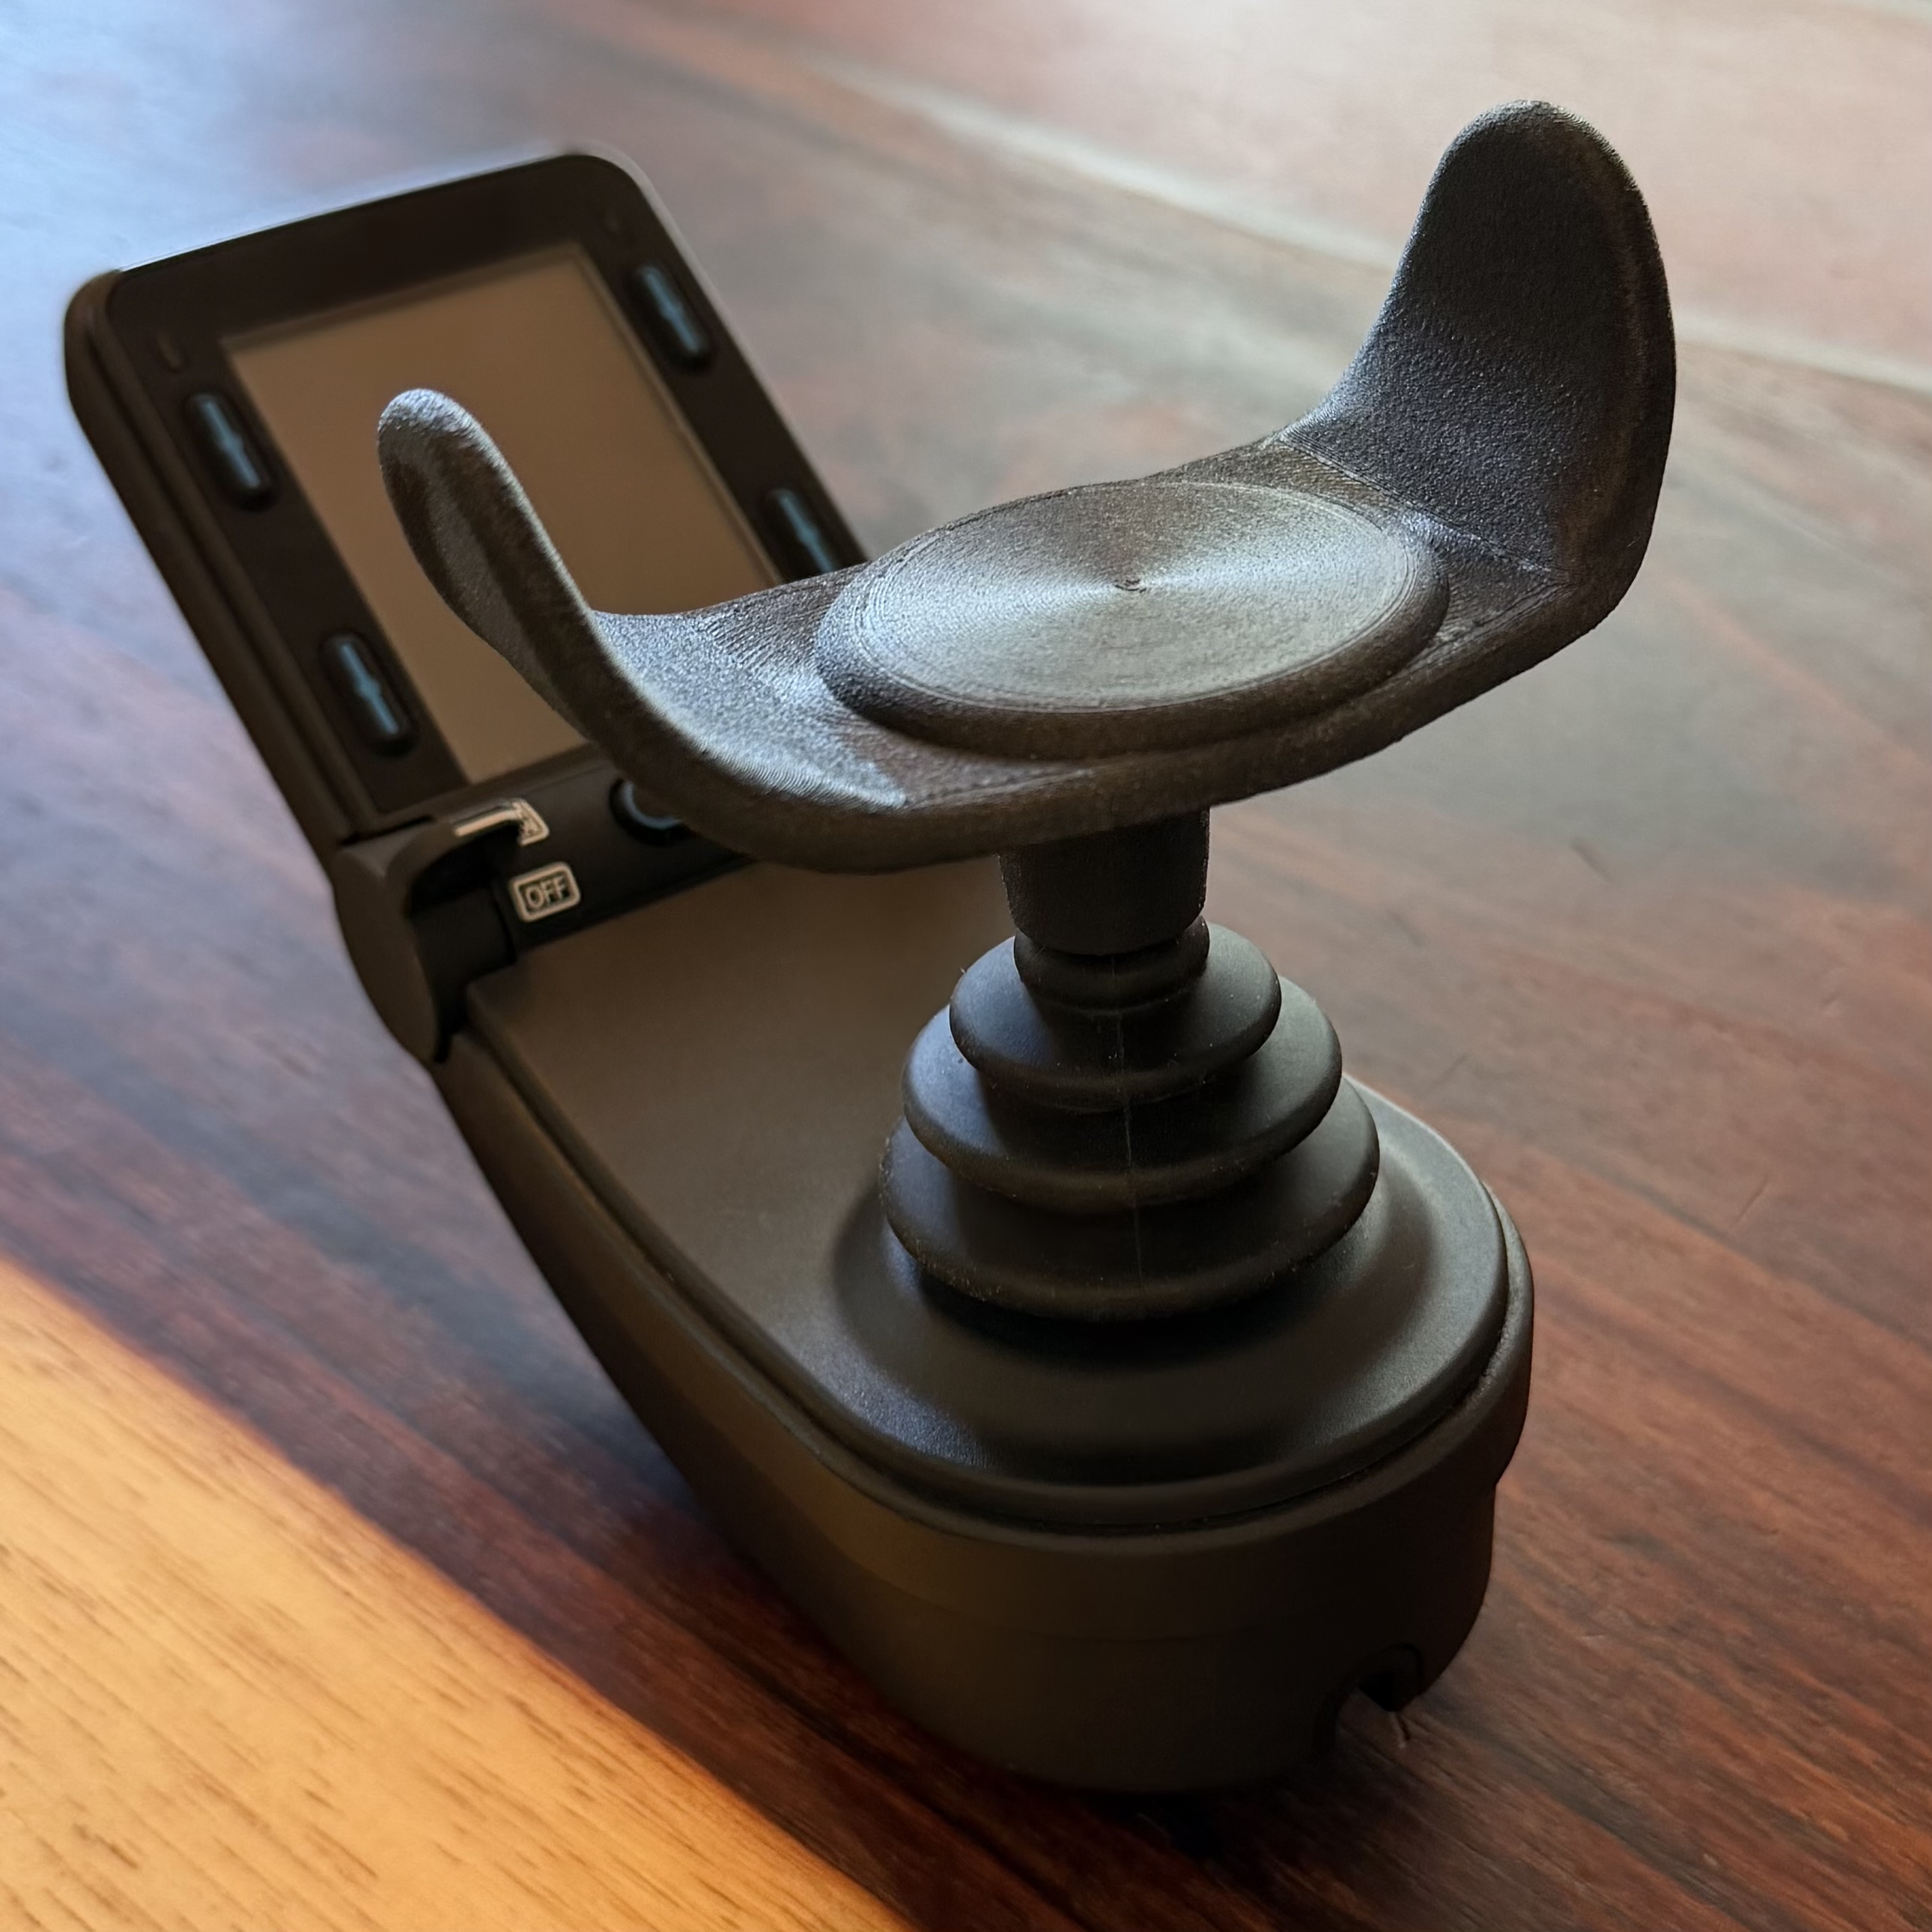
The U-1 started with a problem I live with every day. I have a progressive neuromuscular disease that weakens and atrophies my hands, and a standard power wheelchair joystick is a small knob you are expected to grip. Gripping anything for hours is not something my hands can do anymore, and a knob that asks for a steady pinch turns from an annoyance into real pain over the course of a day. So I designed a replacement through Rockstar Health, the non-profit I founded to 3D print adaptive wheelchair accessories. The U-1 is a joystick topper that swaps out that knob for a shape you can drive with an open hand.
A Hand That Rests Instead of Grips
The core idea is in the shape. Instead of a knob, the U-1 is a winged palm rest, two raised wings on either side of a central dished area where the palm sits. You do not grab it. You lay your hand down between the wings and steer by leaning and nudging, letting the wings catch the sides of your hand so you can push in any direction without holding on to anything. The whole point is to move the work from your fingers, which is where I have almost no strength left, to your whole hand and the weight of your arm, which I do still have.
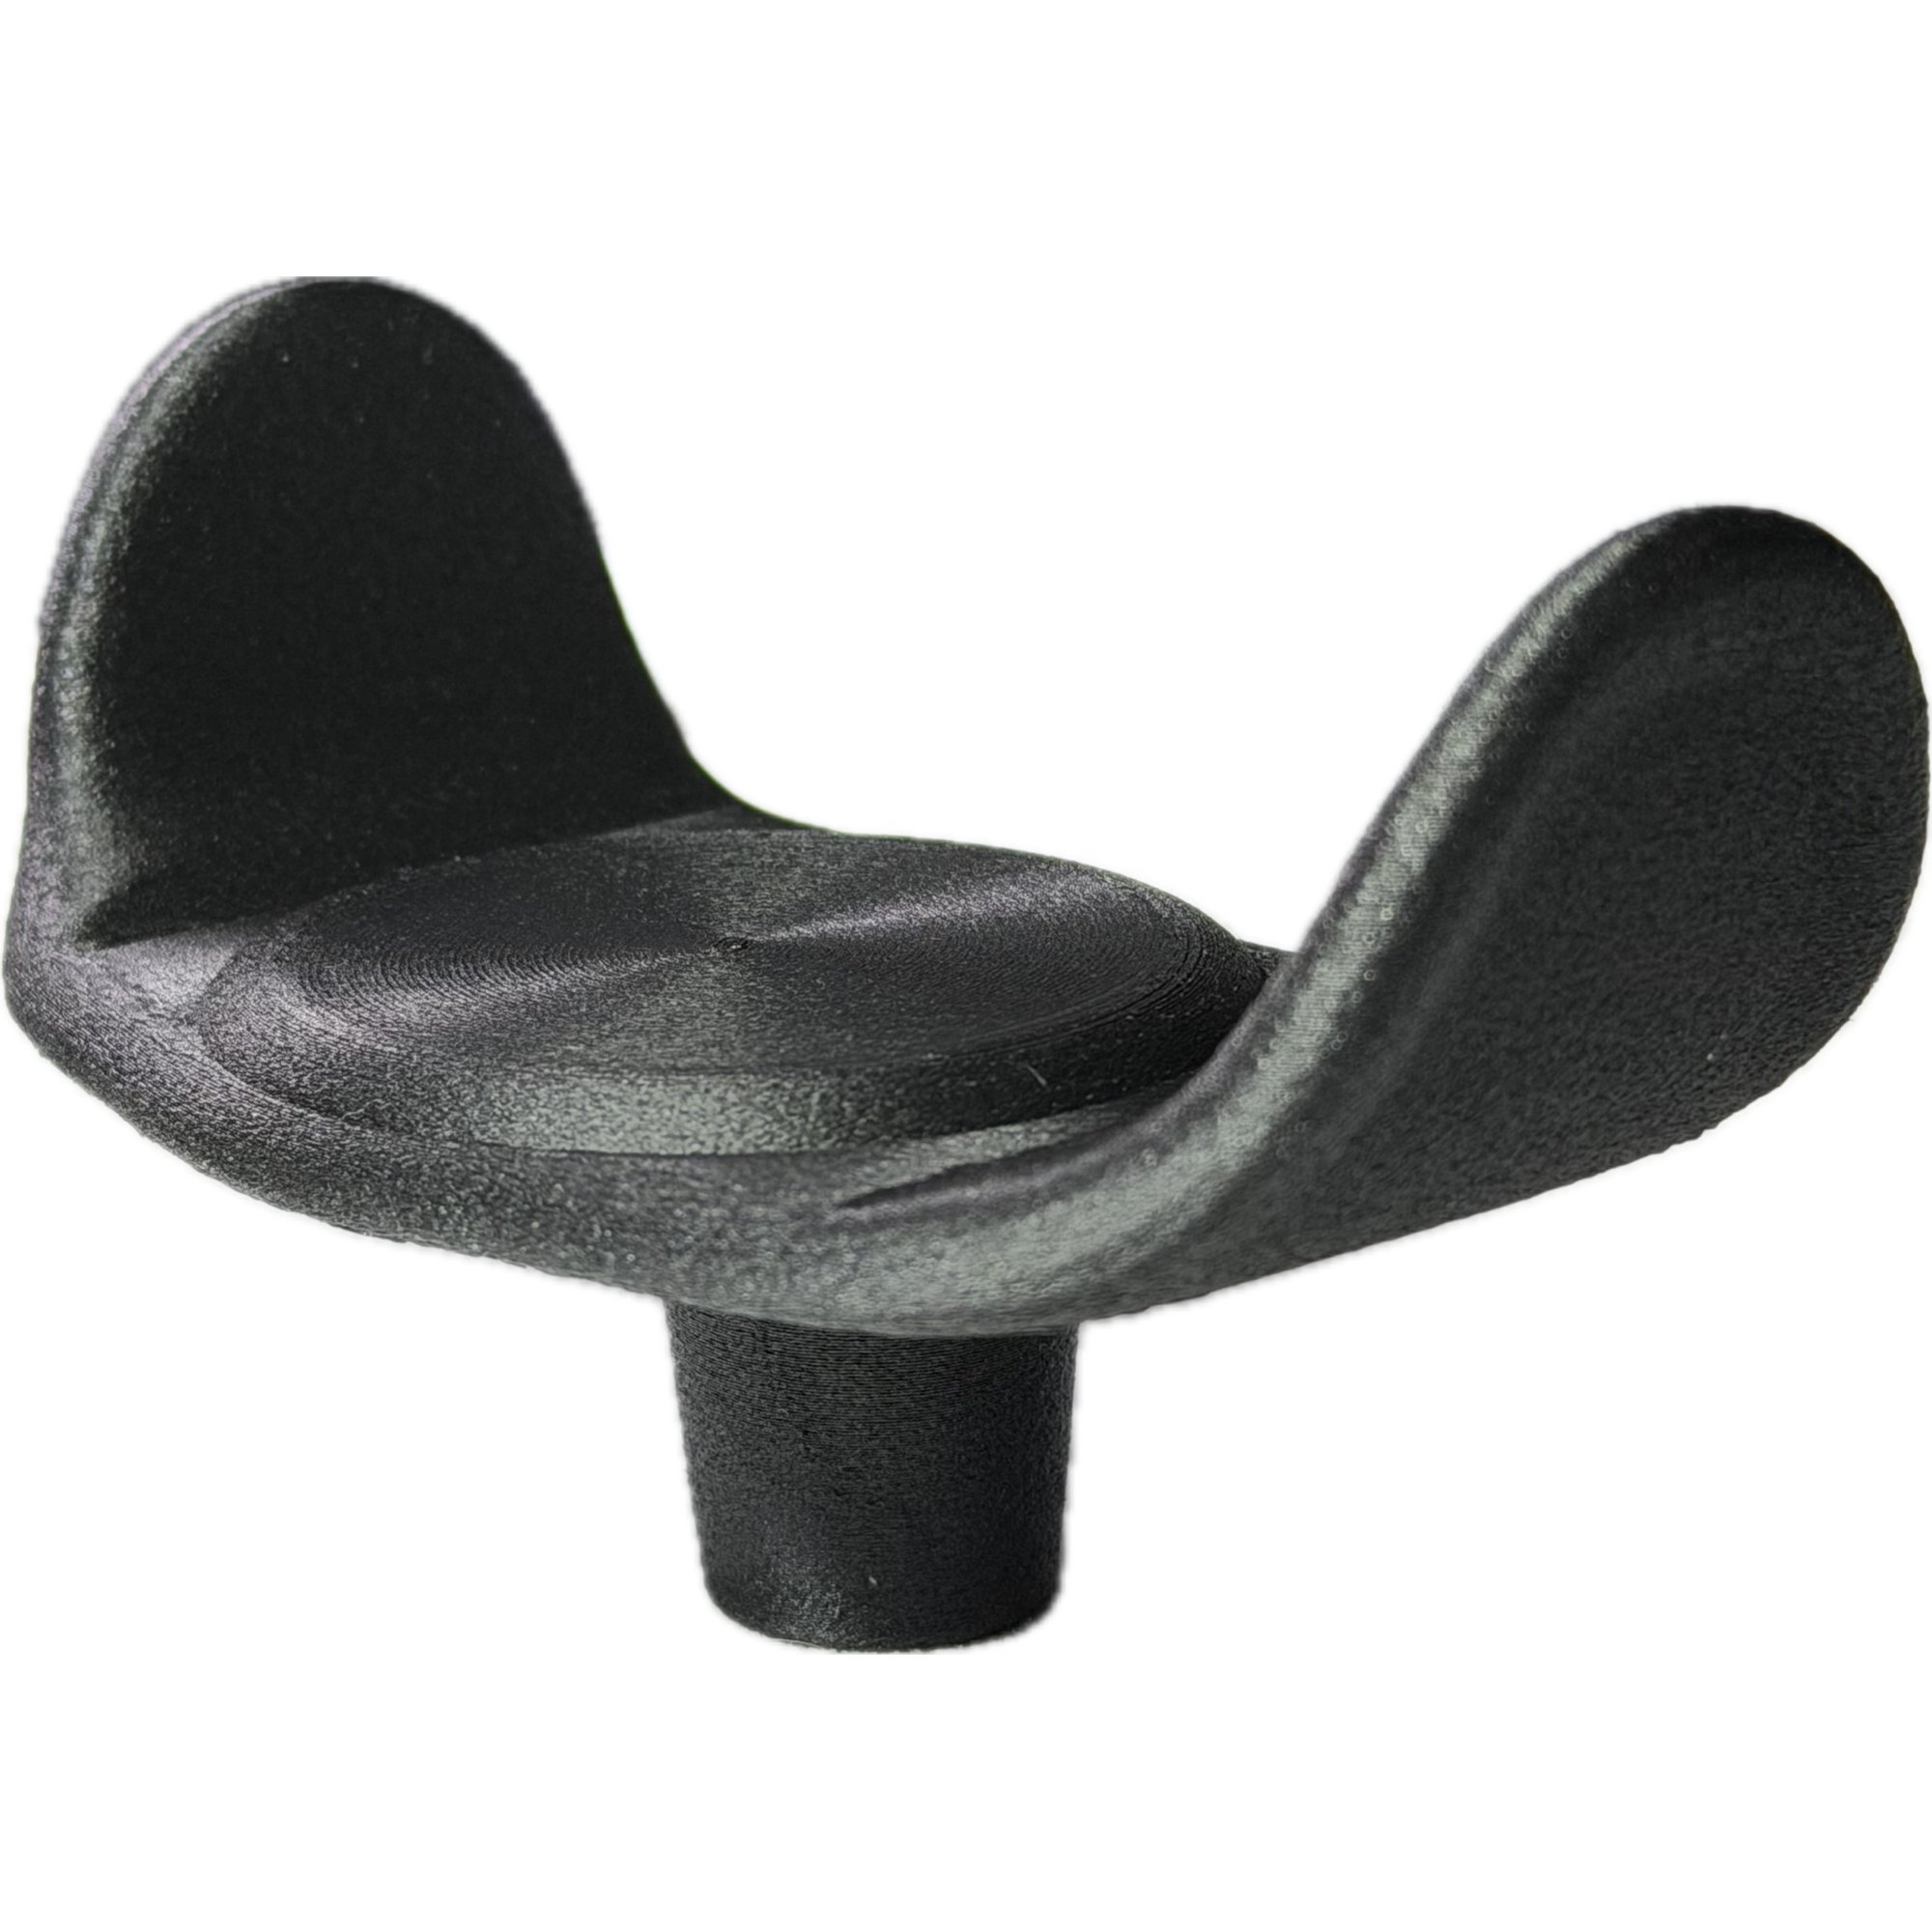
That sounds simple, and the first version was simple, but ergonomics for a hand that cannot grip is a genuinely different problem from designing a normal knob. A normal grip forgives a lot, because the user's fingers wrap around and hold on. A resting hand does not forgive anything. Every contour either supports the hand where it needs support or it digs in somewhere it should not, and there is no grip strength to compensate. The shape has to do all the work, all day, for a hand that is just lying on top of it.
Why I Stopped Trusting My Eyes
Early on I tried to judge each revision by looking at the 3D model, then printing it and feeling it. That fell apart fast. The surface would look perfectly smooth on screen, I would print it, and then a few hours of resting my hand on it would reveal a spot that was quietly wrong. The reason is straightforward once you say it out loud. You cannot feel a tenth of a millimeter by looking at a model, but a hand resting on it all day absolutely can. So I stopped eyeballing and started measuring what I could not see.
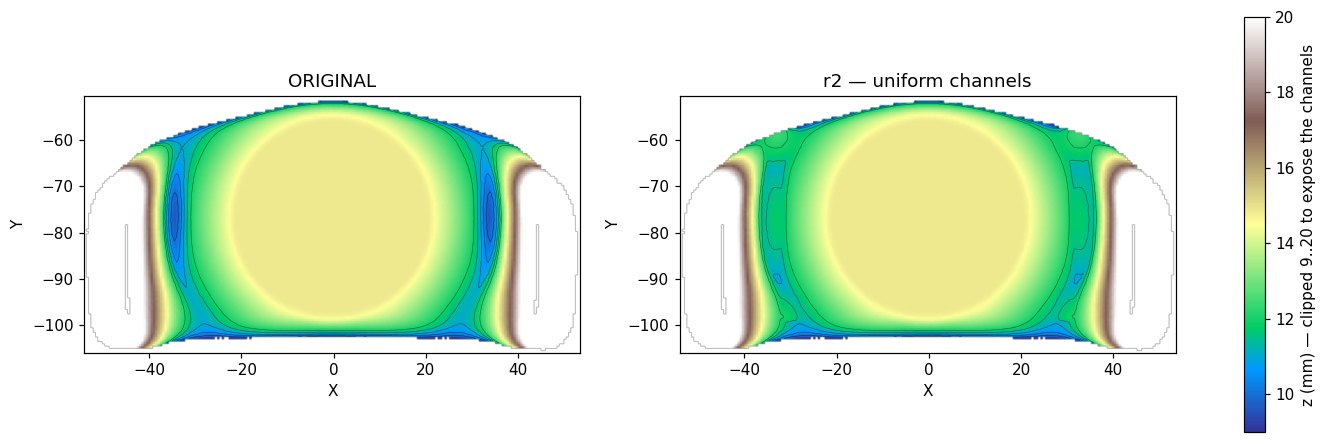
I 3D scanned the surface and pulled it into a set of analytical checks instead of relying on renders. The most useful one was a topographic depth map, where I plot the height of the surface in millimeters and color it like a contour map. That exposes the channels and valleys the hand actually sits in, and it shows them as data rather than as a pretty picture I could fool myself with. Looking at a depth map, an uneven channel jumps out immediately, where in a normal render it would hide in plain sight.
The Divot and River Fix
The depth maps surfaced the problem I ended up calling the divot and river fix. The channels where the hand settles were not uniform. Some ran deeper than others, like little rivers carved at different depths, and there were divots, small low spots in the resting surface that you would never notice on a model but that your palm finds within minutes. A divot under a hand with no padding of its own becomes a pressure point, and a pressure point that you sit on for hours becomes a sore.
The goal was uniform, smooth channels blended into one continuous surface, with no abrupt steps between the wings and the palm rest. I worked toward a single cohesive surface to a tolerance of around 0.09 mm, because that is roughly the scale where the difference stops being something you can see and starts being something only a hand notices. This took a lot of numbered revisions. R5, R9, R10, R11, R13, R14, R15, R19, R20 and several more in between, each one a small adjustment to the channel depth or the blend, then a fresh scan, then another depth map to check whether I had actually evened things out or just moved the problem somewhere else.
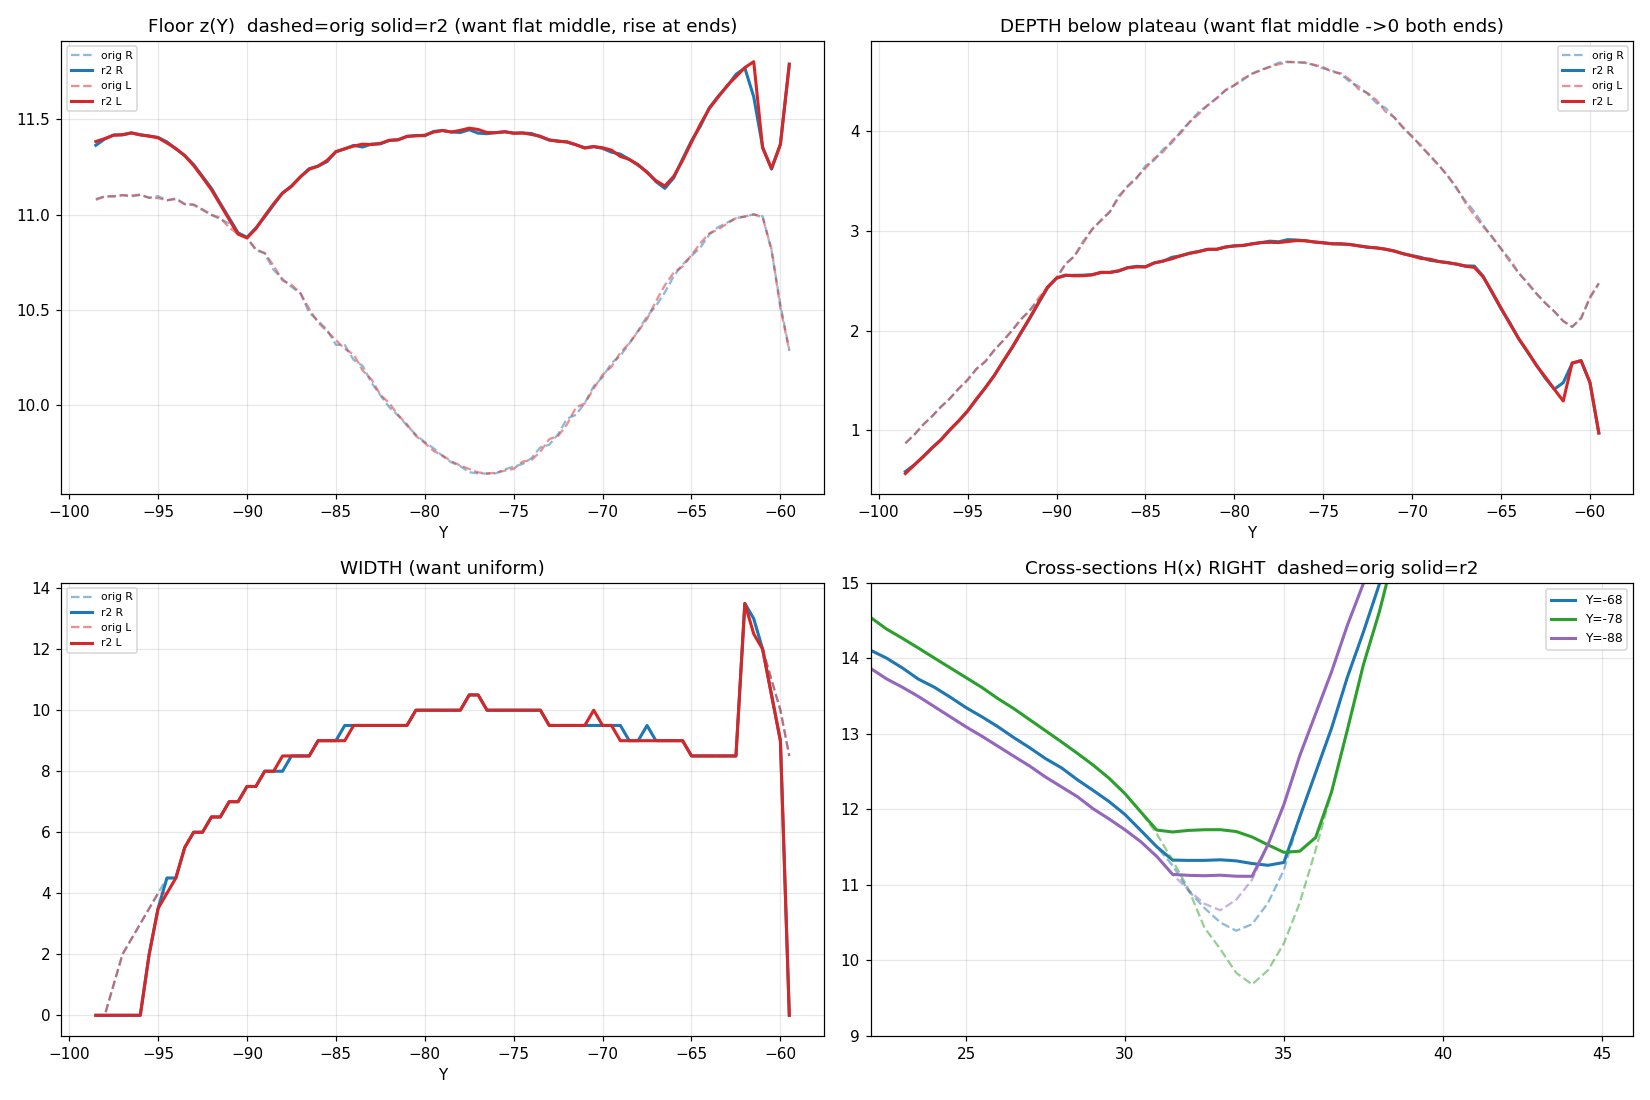
Depth maps tell you about the surface from above, but they do not tell you the shape of a slice through it, so I also cut cross-section profiles through the same spots on each revision. A cross-section makes the curve of a channel explicit, and putting the before and after side by side is how I could tell whether a change actually softened a profile or just looked different from the top down. A lot of the real work happened at this level, where a couple tenths of a millimeter of curvature is the entire difference between a channel that cradles the hand and one that presses on it.
Hunting Down Rough Spots
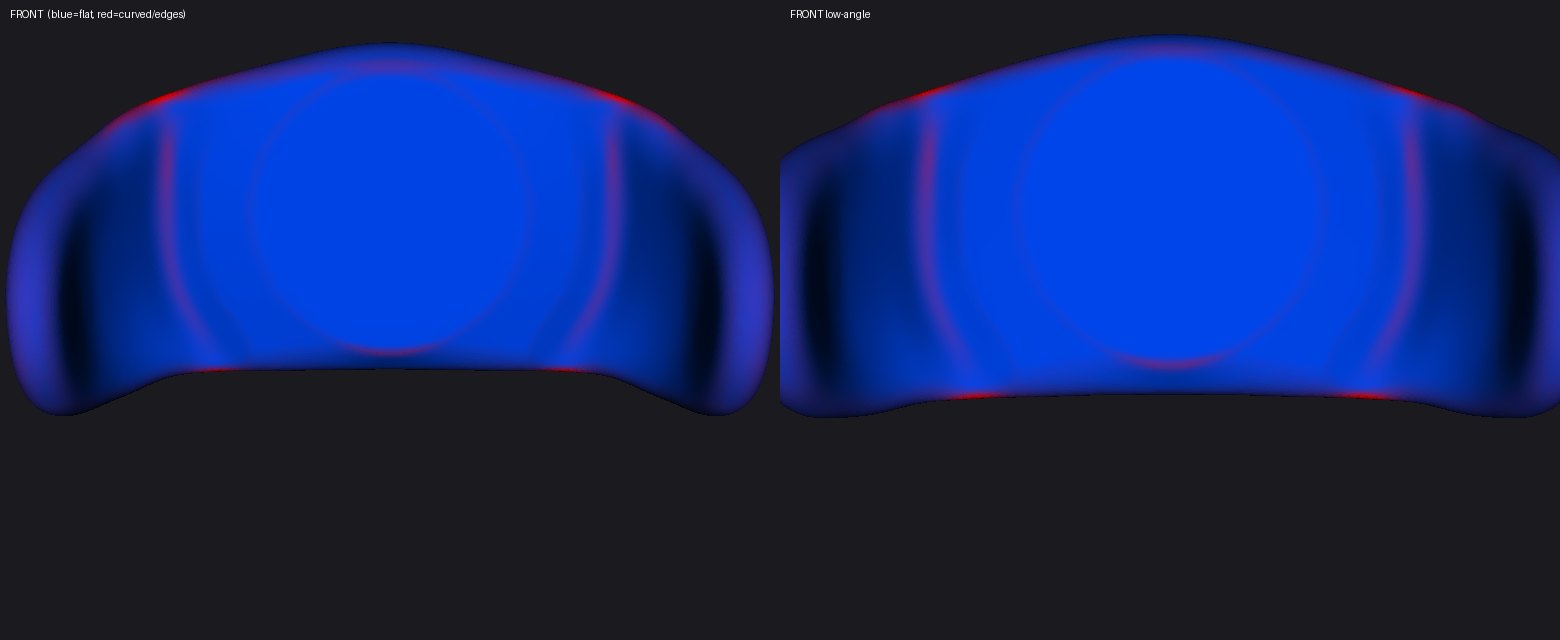
Even with the channels evened out, there was still the question of surface quality across the whole part. A render hides roughness and tiny dimples the same way it hides divots, so I ran a surface analysis from several angles to find the spots that were still rough or slightly sunken. The four-view version was the most honest tool I had, because a flaw that disappears from one viewpoint usually shows up clearly from another, and a hand does not care which angle you happened to be looking from.
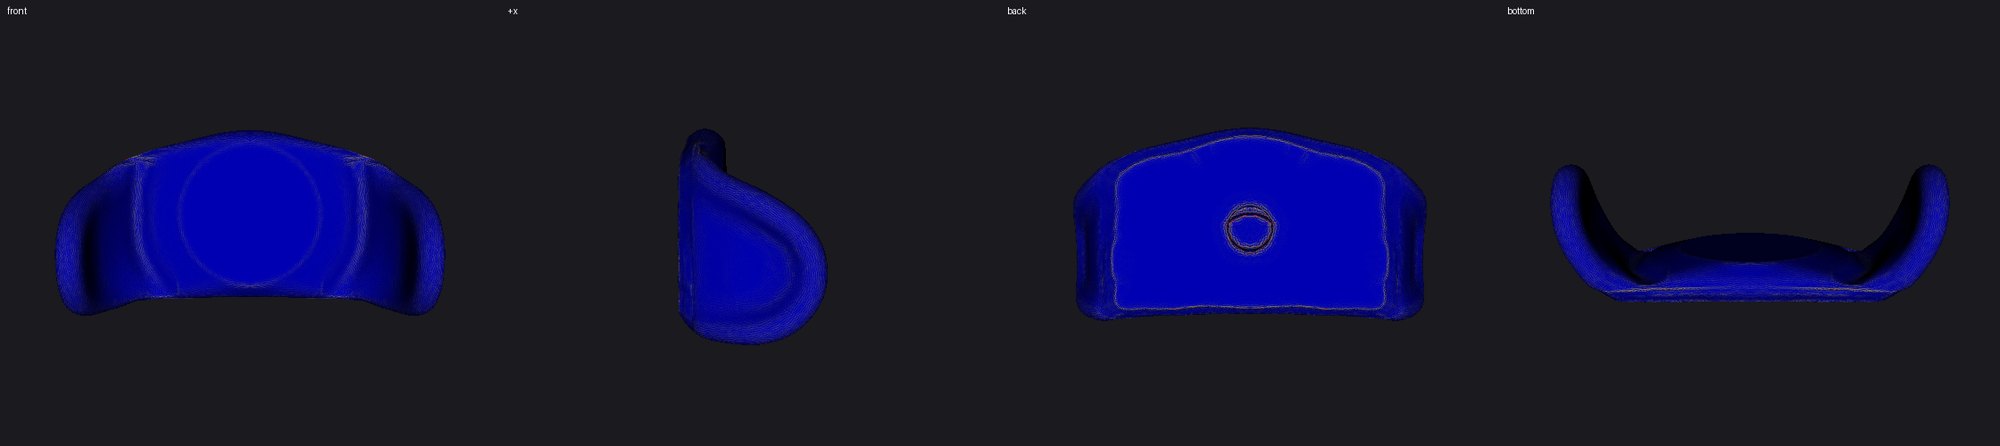
Alongside that I checked wall thickness and ran drainage and valley analysis on the channels, which is partly about comfort and partly about the part being sound. Wall thickness checks tell you where the part is too thin to be strong or too thick to print cleanly, and the valley analysis confirms the channels actually flow into one another the way the depth map promised, instead of trapping the hand in a dead end. None of these are things you can confirm by holding the print up to the light. You confirm them with numbers, and then you print the revision and let your own hand be the final reviewer.
Making It Real
A comfortable shape is only useful if it survives daily life, so the U-1 is 3D printed in carbon-fiber-reinforced nylon, PAHT-CF, with a matte textured finish. The carbon fiber gives it the strength to take a hand pushing on it thousands of times a day without flexing or wearing out, and the matte texture keeps a resting palm from sliding around. Getting it to print cleanly in that material was its own constraint that fed back into the shape. The part has to be self-supporting and free of weak spots, which is part of why the wall thickness checks mattered so much, since a contour that felt great but printed thin would not have lasted.
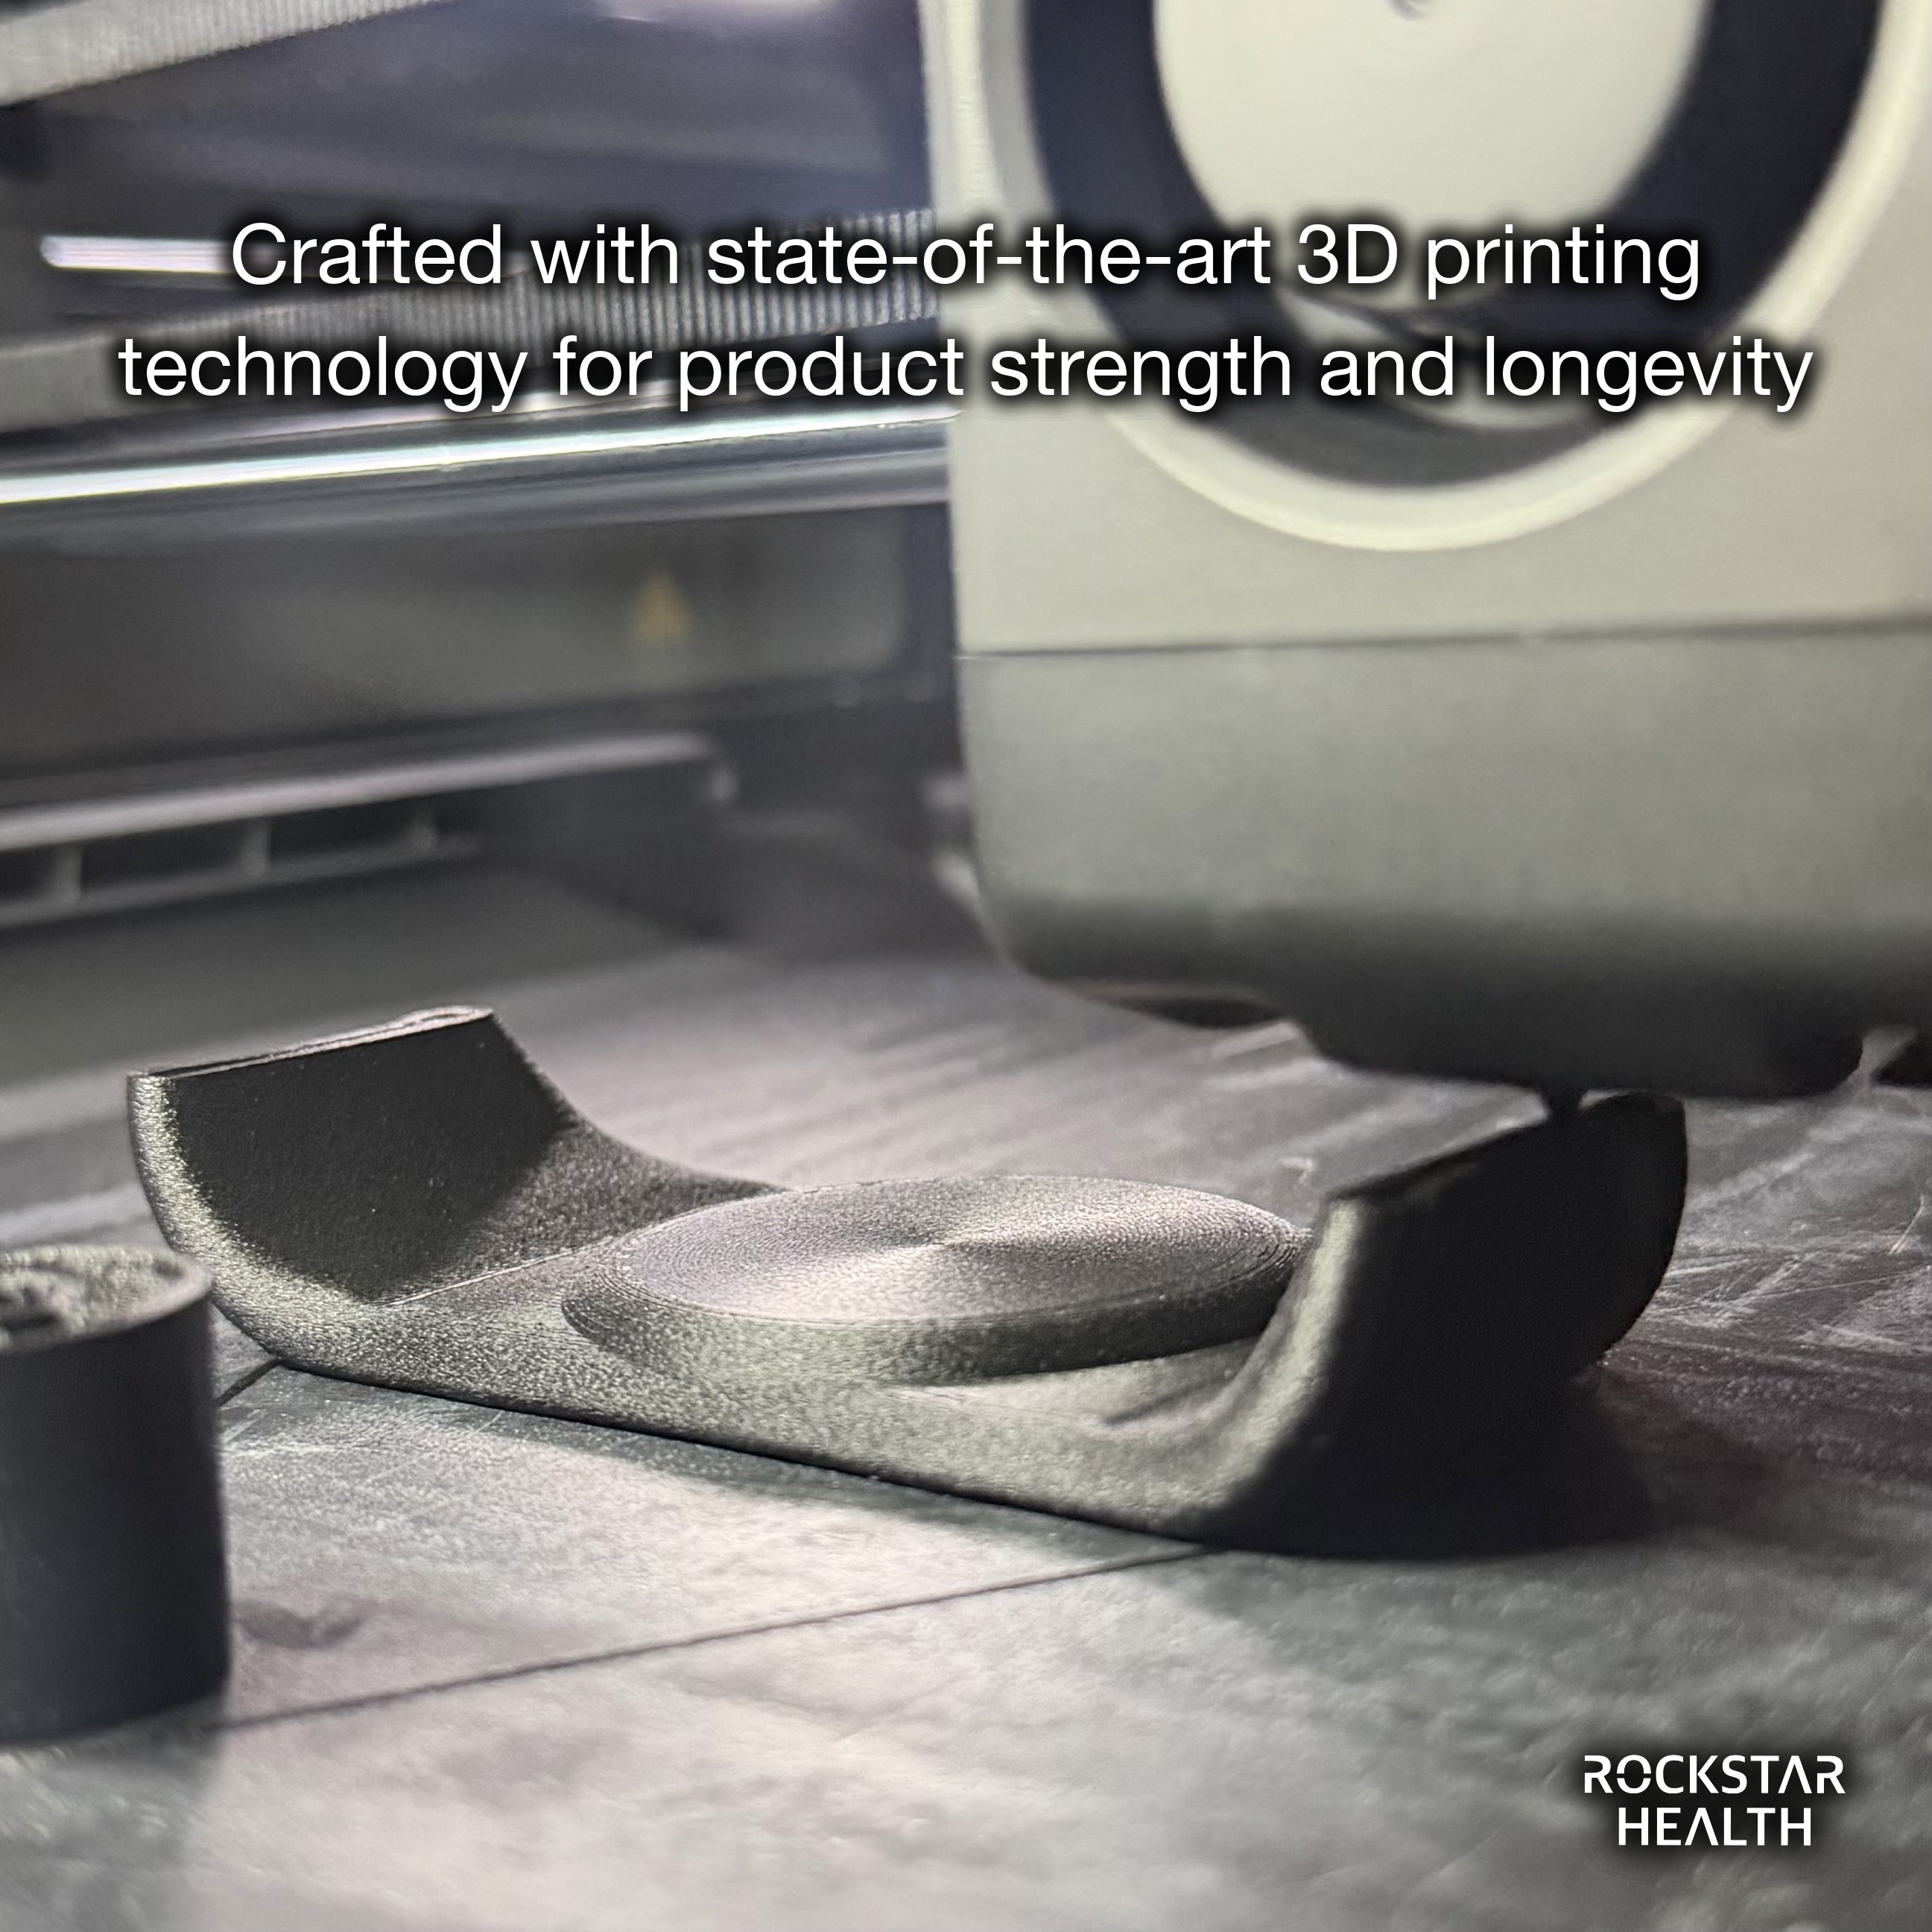
The last requirement was that it fit standard hardware. The U-1 is dimensioned to fit standard joystick stems, so it replaces the existing knob directly without modifying the controller, and it has to keep doing that through daily use. A topper that fits loosely or wears at the stem would be worse than the knob it replaced. Compatibility and durability are not glamorous, but they are the difference between a project and something a person can actually rely on every morning.
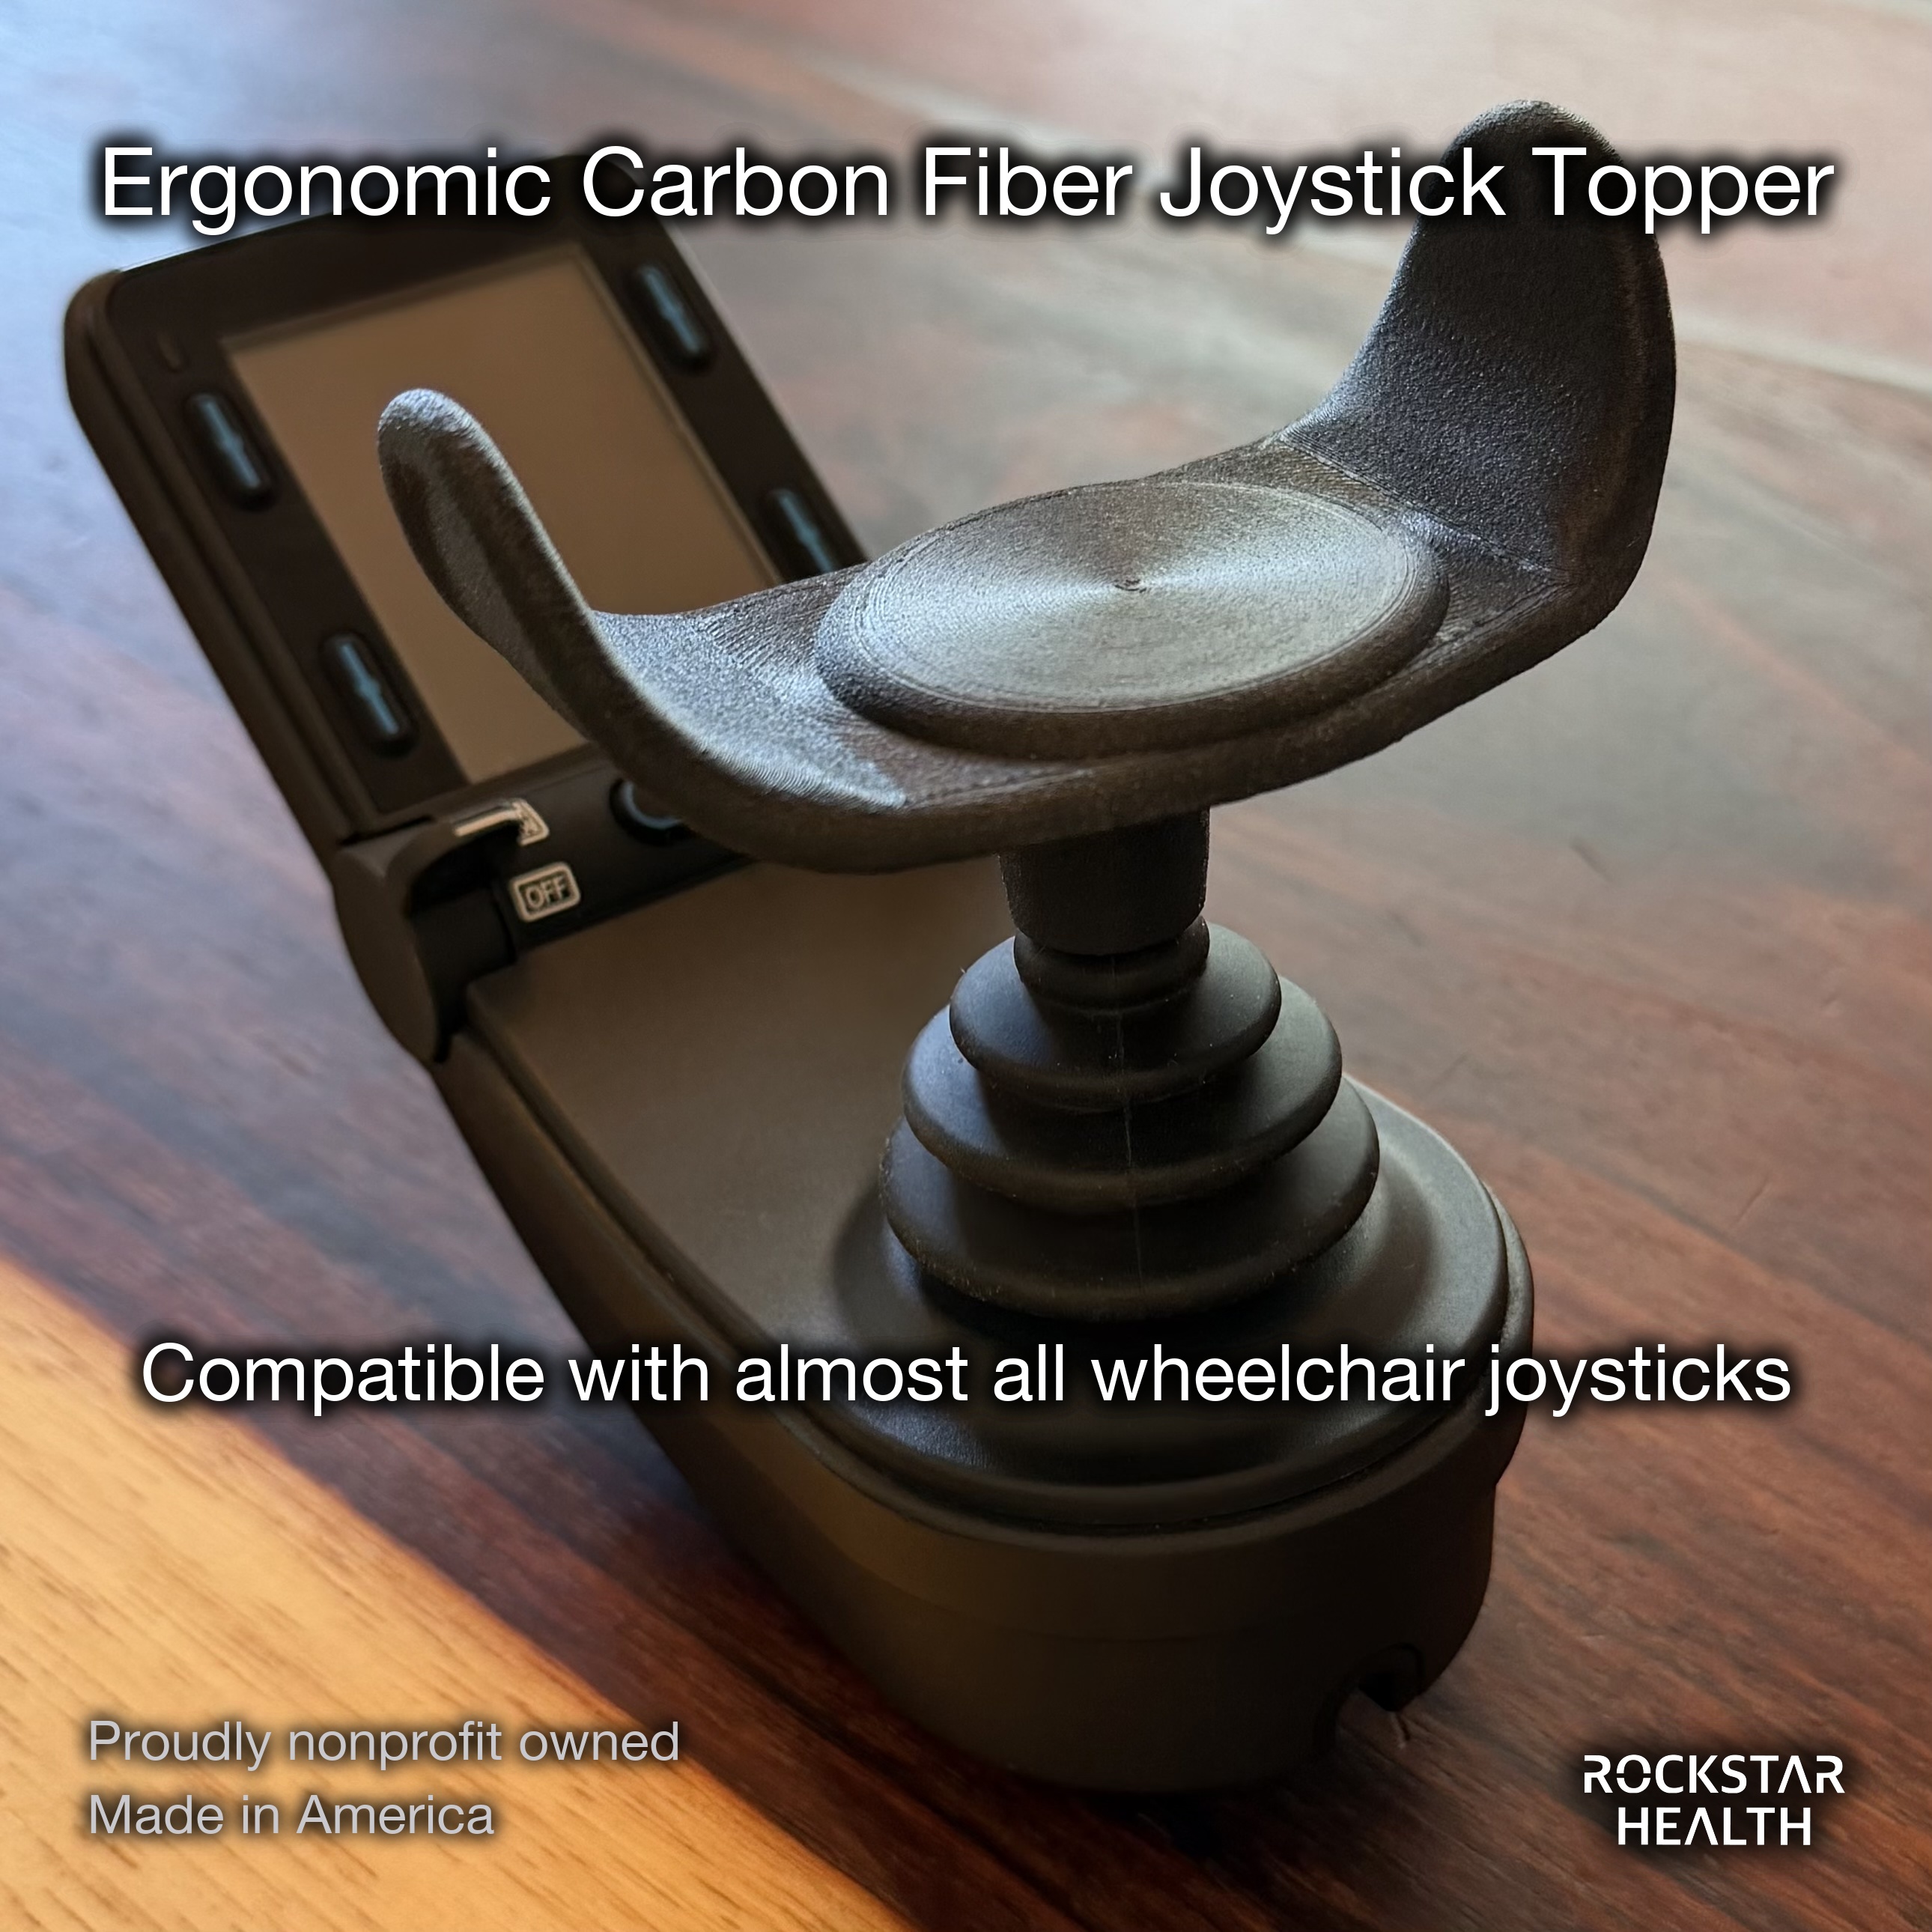
The U-1 is a small part, and from across a room it does not look like much. But it came out of dozens of revisions, a stack of depth maps and cross-sections, and a long argument with my own hands about what they could and could not do. The reason I measured everything I could not see is that I am both the engineer and the end user, and I knew exactly who was going to be resting a hand on the result for the next several hours.
Written by Ryleigh Newman